Mastering Double D-Ring Mounting for Secure Picture Hanging
Why Your Picture Frames Slip and How to Stop It
There is a quiet frustration that comes with walking past a picture frame you straightened two days ago only to find it listing again. You nudge it back level, promise yourself you will fix it properly, and then life gets in the way. I have been there more times than I care to count. The root cause is almost never the frame or the artwork itself. It is the hanging system. More often than not, the problem traces back to how the picture wire connects to the frame and how that connection bears the load over time.
Over the years I have hung everything from small gallery prints to heavy antique mirrors in old plaster walls. The one method that has never let me down is a double D-ring mounting. It sounds technical, but it is really just a straightforward approach to securing a D-ring hanger on each side of the frame, running picture wire between them, and locking everything tight so nothing shifts. When done right, the frame stays exactly where you put it.
Understanding the Hardware
Before you pick up any tools, it helps to know what each piece does. The D-ring hanger is a small metal plate shaped roughly like a D, with a hole at each end for screws and a loop in the middle where the wire passes through or ties off. These hangers are usually made of galvanized steel, sometimes with a nylon coating that protects the wire from abrasion. The coating matters more than most people realize. Bare metal edges can saw through picture wire over months of subtle vibration, especially if you live near a busy street or have kids running through the house.
Picture wire itself comes in different gauges, and the load capacity changes dramatically with thickness. A lightweight frame holding a small print might do fine with 12-gauge wire, but anything over about ten pounds calls for a heavier strand. Wire rope, which is a braided construction, offers even more strength and resists stretching. I have seen too many people grab whatever wire they find in a drawer, tie a quick knot, and wonder why the frame sags after a season. The wire and the hanger need to match the weight of the frame and the artwork together.

Tools You Will Need
You do not need a workshop full of gear, but a few specific tools make the job clean and reliable. A tape measure, a level, a stud finder, a screwdriver or drill, a pair of pliers, and a wire cutter cover the basics. If you are working with wire rope, a dedicated cable cutter gives a cleaner cut than standard pliers. A good set of pliers also helps when you need to twist a security knot tight without slipping. I keep a separate pair for wire work so the cutting edges stay sharp.
Step by Step: The Double D-Ring Mounting Process
Let me walk through the method I use on almost every frame that comes through my door. Start by measuring the frame width and deciding how much wire you want above the top edge. A common rule is to have the wire peak about two to three inches above the frame when pulled taut, but that depends on the hook or nail placement on your wall. Mark the spot on each side of the frame where the D-ring hanger will go. It should be the same height on both sides, usually about one third of the way down from the top edge. Symmetry here keeps the frame level when hanging.
Drill pilot holes for the screws that come with the hanger. If the frame is wood, a small pilot hole prevents splitting. For metal or plastic frames, you might need self-tapping screws. Insert the screws and tighten them fully, but do not overtighten to the point where the hanger bends. Each D-ring hanger should sit flat against the frame. This is the foundation of the double D-ring mounting, and skipping the pilot hole step invites cracks later.
Now cut a length of picture wire. Give yourself extra, roughly twice the width of the frame plus another twelve inches. Thread one end through the loop on the left D-ring hanger, then bring it back through the same loop to create a loop around the ring. Twist the wire around itself with pliers to form a security knot. A standard approach is five or six tight twists, then trim the excess with wire cutters and press the cut end flat against the main wire so it does not snag. Repeat the same process on the right side. The wire should run between the two D-ring hangers in a straight line, with enough slack that the frame can hang from a single hook in the middle.
Test the tension by holding the frame at the wire peak. The wire should feel taut but not stretched to its limit. If it sags too much, you cut the wire too long. If it pulls the frame sides inward, you cut it too short. Adjust and redo the knots as needed. This is where a little experience pays off. I have remade a knot three times on a single frame because the length was off by half an inch. It is worth the patience.
Matching the Mount to the Wall
A strong hanging system on the frame means nothing if the wall anchor fails. Use a stud finder to locate a wooden stud for heavy pieces. If you cannot hit a stud, use a wall anchor rated for at least twice the weight of the frame. A simple nail or screw into drywall without an anchor will pull out under sustained load, especially if the wire is under tension. I have seen a beautiful gallery mirror come down because someone used a finishing nail that looked fine for a week, then gave way during a warm afternoon.
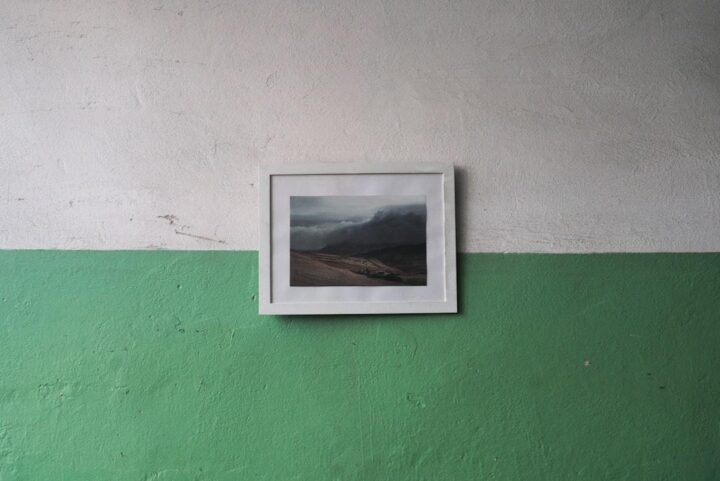
Position the hook or nail at the height you want the frame to sit, accounting for the wire drop. A level helps you get that hook perfectly horizontal. If you are hanging multiple frames in a row, mark the hook locations with a tape measure and check each with a level before driving anything into the wall. The double D-ring mounting gives you a stable platform, but the wall side still needs equal care.
Common Mistakes to Avoid
One mistake I see often is using a single D-ring hanger instead of a pair. A single hanger creates a pivot point, and the frame can rotate around it. Two D-ring hangers, one on each side, distribute the load and keep the frame from twisting. That is the whole idea behind the double D-ring mounting. Another error is using wire that is too thin for the weight. A fishhook might hold a lightweight picture, but for anything substantial you need proper wire rope. Check the load capacity printed on the wire spool or packaging. If you cannot find it, buy a heavier gauge to be safe.
People also forget to account for the frame itself. A thick, heavy wooden frame with a deep profile and a large piece of artwork inside can weigh more than you estimate. I recommend weighing the fully assembled frame on a bathroom scale if you are unsure. Then double that number when choosing your hardware. The margin of error protects against accidents.
Maintenance and Long Term Care
Once the frame is up, check it after a week. Temperature and humidity changes can cause wood frames to expand or contract slightly, which can loosen screws. A quick retightening with a screwdriver prevents the D-ring hanger from shifting. Also inspect the wire for any signs of fraying, especially near the knots. If the wire shows wear, replace it before it breaks. A nylon coating helps here because it reduces friction, but it is not a permanent fix. I replace the wire on heavy frames every couple of years as a rule.
For home decor that you plan to rearrange seasonally, the double D-ring mounting still works well. You can unhook the wire from the wall hook without untying the knots, move the frame to a new location, and rehang it. The wire length stays the same as long as the new hook is at the same height. This flexibility is one reason I use this method for almost everything in my own house.

Final Thoughts
Hanging a picture frame the right way takes a little more time than hammering a nail and hoping for the best. But the difference in reliability and peace of mind is enormous. A properly executed double D-ring mounting keeps your artwork level, secure, and safe from falls. It respects the craft of the frame and the value of what is inside it. Whether you are a seasoned decorator or someone hanging their first print, learning this technique pays for itself the first time you walk past a frame that has not moved in months and realize you can stop worrying about it.
Take the time to choose the right D-ring hanger, match it with appropriate picture wire, and secure both ends with a solid security knot. Use a stud finder on the wall side and a level to keep everything straight. The result is a hanging system that looks professional and performs like it. Your artwork deserves that level of care, and your walls will thank you for it.